One of the key advances in the latest version of Windows 10 (2004) is WSL2 (Windows Subsystem for Linux v2) - and whilst a version bump, it offers so much more. This allows us to run with near-native performance linux binaries ( ELF64 ).
Before we get into the steps outlined to install WSL2, I also recommend installing Windows Terminal , and winget . Although not required, it does make it simpler to use and a better (dev) experience - especially when setting up a new workstation.
For WSL2 to work, you need to make sure you are on Windows 10 2004 Build 19041 or higher. If you don’t have this, run Windows update and see if that updates your OS. If that doesn’t offer a update, you could also try the Windows update assistant .
To get WSL2, whilst not complicated one needs to do the following steps, in this order - running the commands in an elevated prompt.
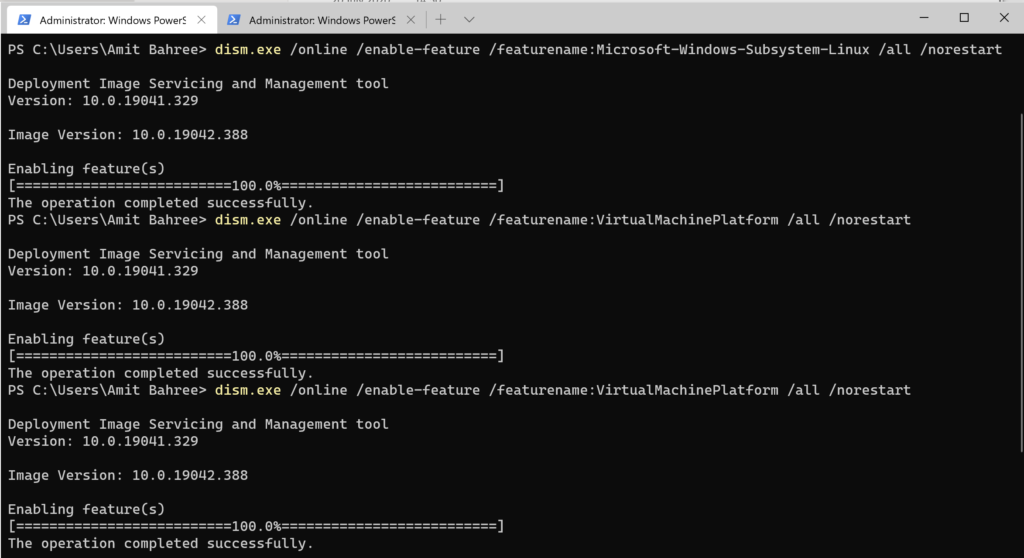
- Enable the Windows Subsystem for Linux optional feature.
| |
- Enable the Virtual machine platform optional feature.
| |
- Reboot
- Run Windows update (and reboot again if there are updates)
- Set WSL2 as your default option.
| |
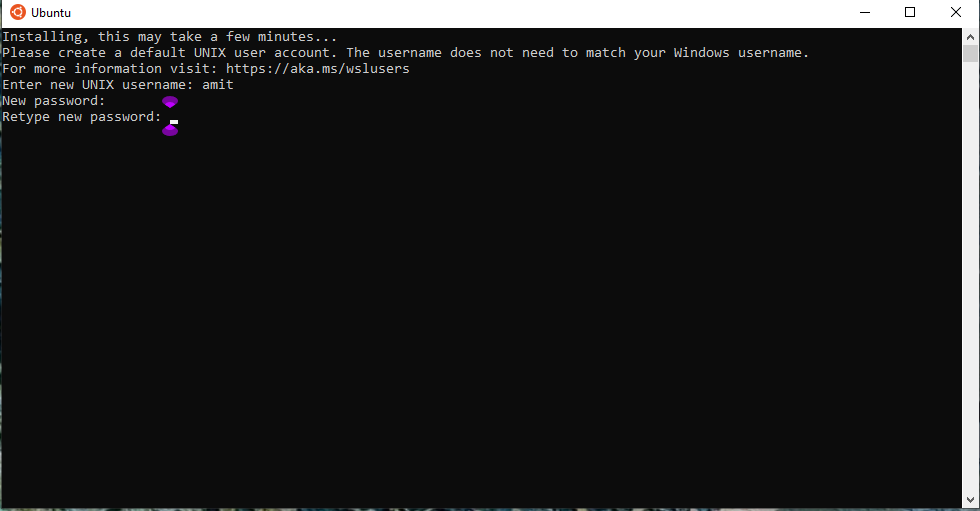
- Install your Linux distro of your choice. You can do this via Store , or via winget, such as Ubuntu using the following command.
| |

Note, when trying to set WSL2 as the default option above (Step 5) and you get a error 0x1bc, that most likely means you need to run Windows update and reboot.

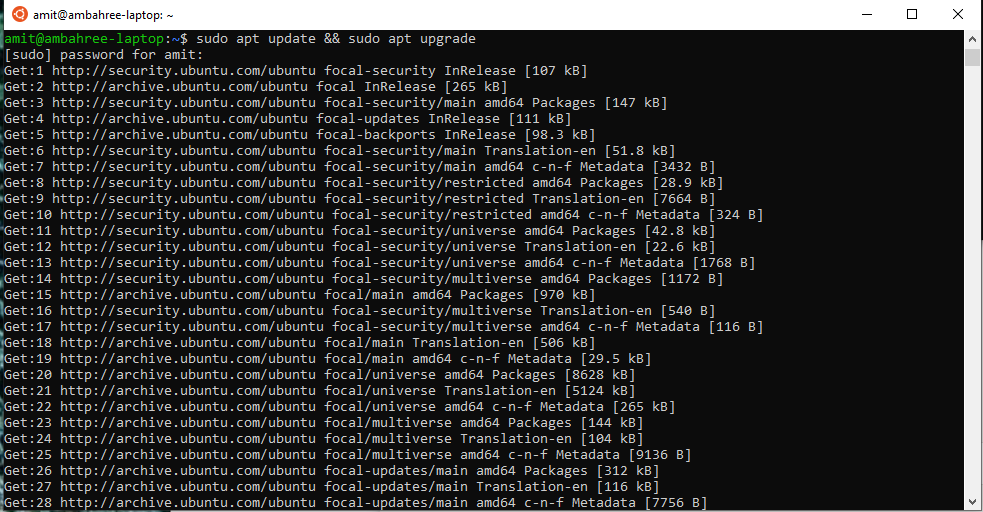
And here is my running Ubuntu and updating it.
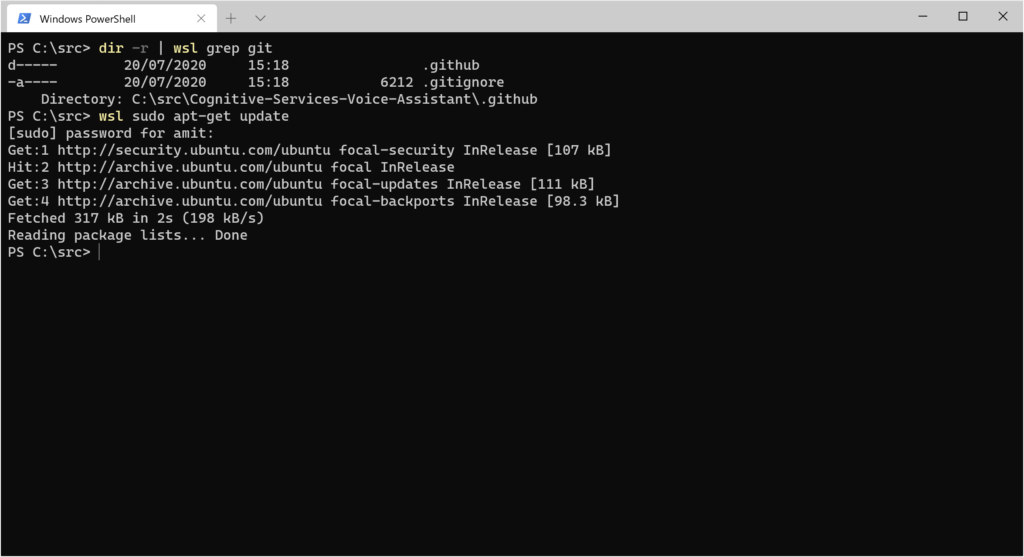
So, what’s the big deal? This is where it gets quite interesting and one simple example is the windows interoperability with Linux - allowing one to run linux commands from within a command prompt.