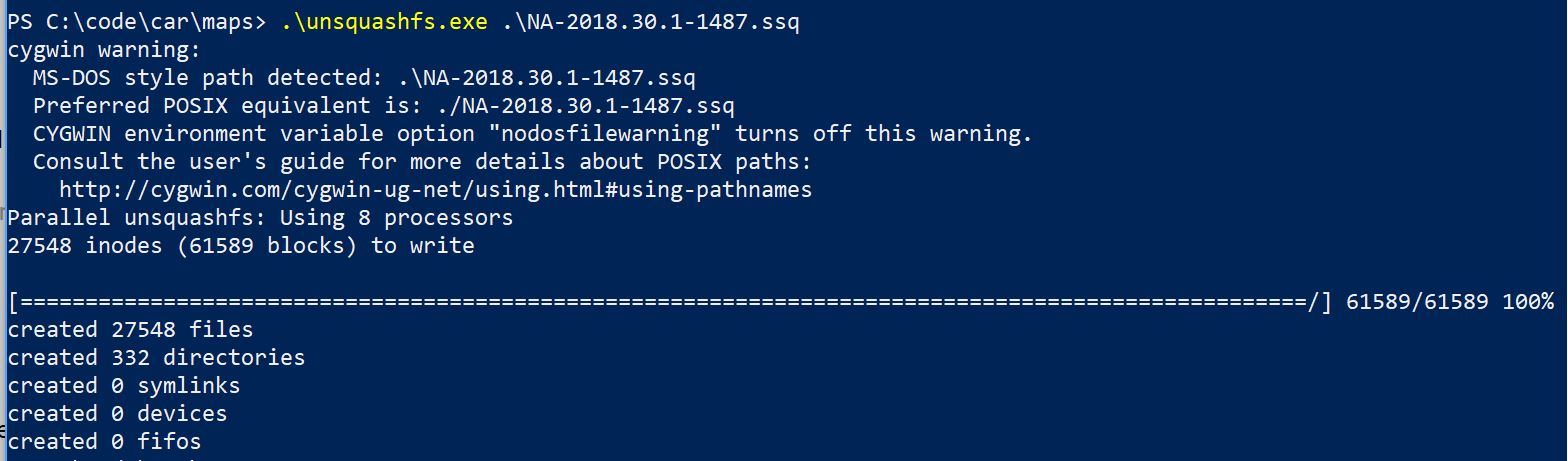
Sometime back, I noticed the car downloaded a large file (5.1 GB) which was a .ssq file. I hadn’t heard of a ssq file, and was curious on what this was.
I researched a little and as it turns out, a .ssq file is a compressed file system which is often used in an embedded Linux system, where storage size might be a area of concern. This file-system is called SquashFS, and is usually used on a read-only mode.
SquashFS is interesting, as it lets one mount the file-system directly and is distributed as a kernel source patch - which makes it easy to daisy chain and use it other regular Linux tools.
SquashFS tools are useful to mount and create a SquashFS file-system. As shown below, I can mount the downloaded file, using unsquashfs.
I think it is known that Tesla uses Valhalla for their maps and this file is the updated maps data. Valhalla, is a open source routing library which is using OpenStreetMap . Valhalla, also incorporates the traditional travelling salesman problem which is a non-deterministic polynomial problem .
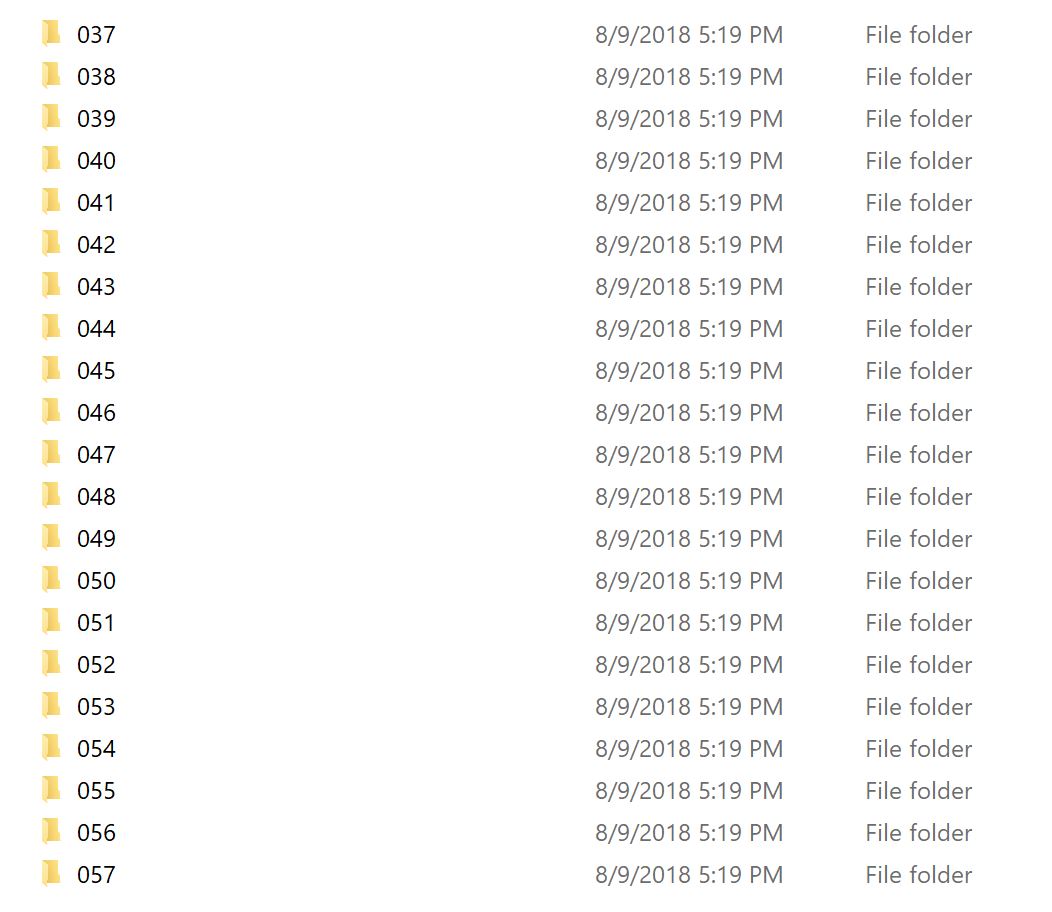
When extracted and mounted, we see the following directory structure; each of these folders (and files therein) are in fact the tiles that make up the maps (next time in the car, when you zoom in or out or search of a non-cached location, notice carefully on how it is loading and you can just about make out the tiles - it is quick and easy to miss). And it is these tiles that is used for routing as part of the navigation.
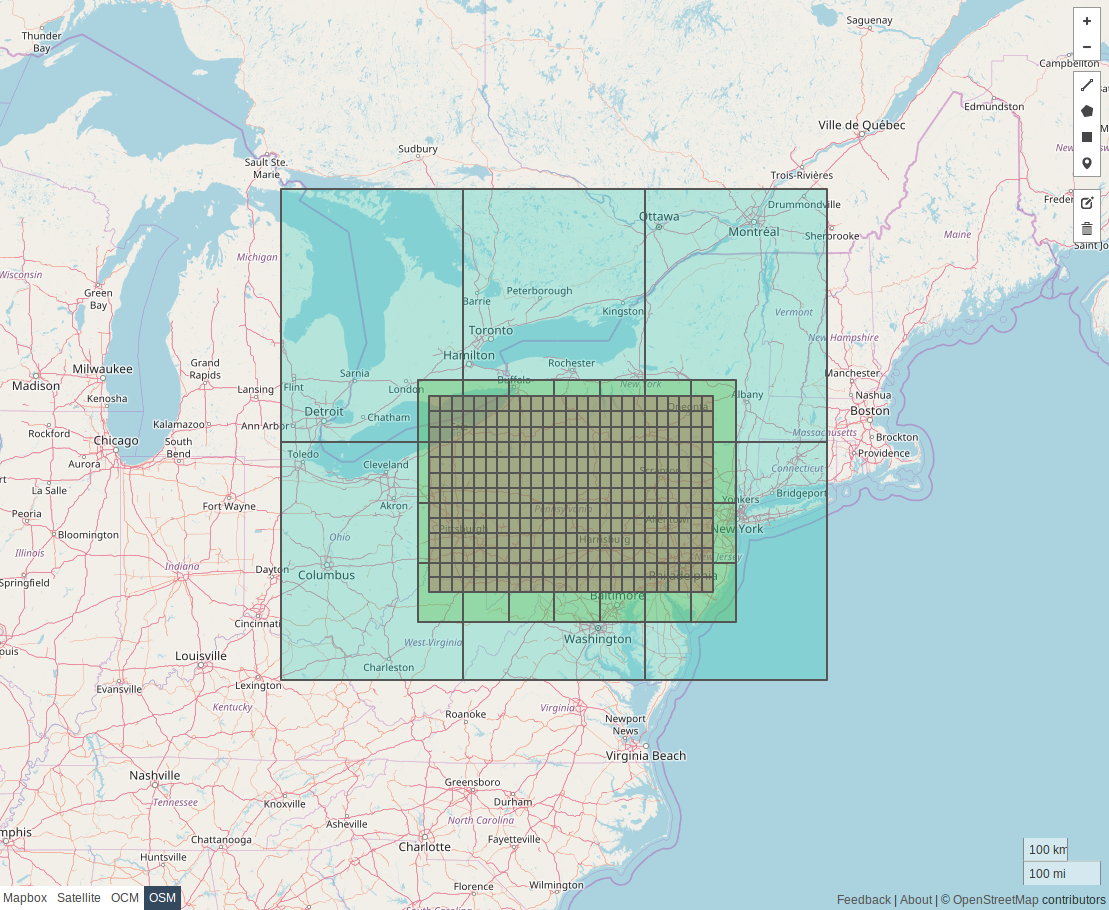
Tiled based routing is supposed to be beneficial - it uses less memory (the graph can be decomposed much easier, with a smaller set of it loaded in memory), cahce-able, easier to manage (update-able), etc. We can see a glimpse on how the routing and calculation happen on a tile basis below.
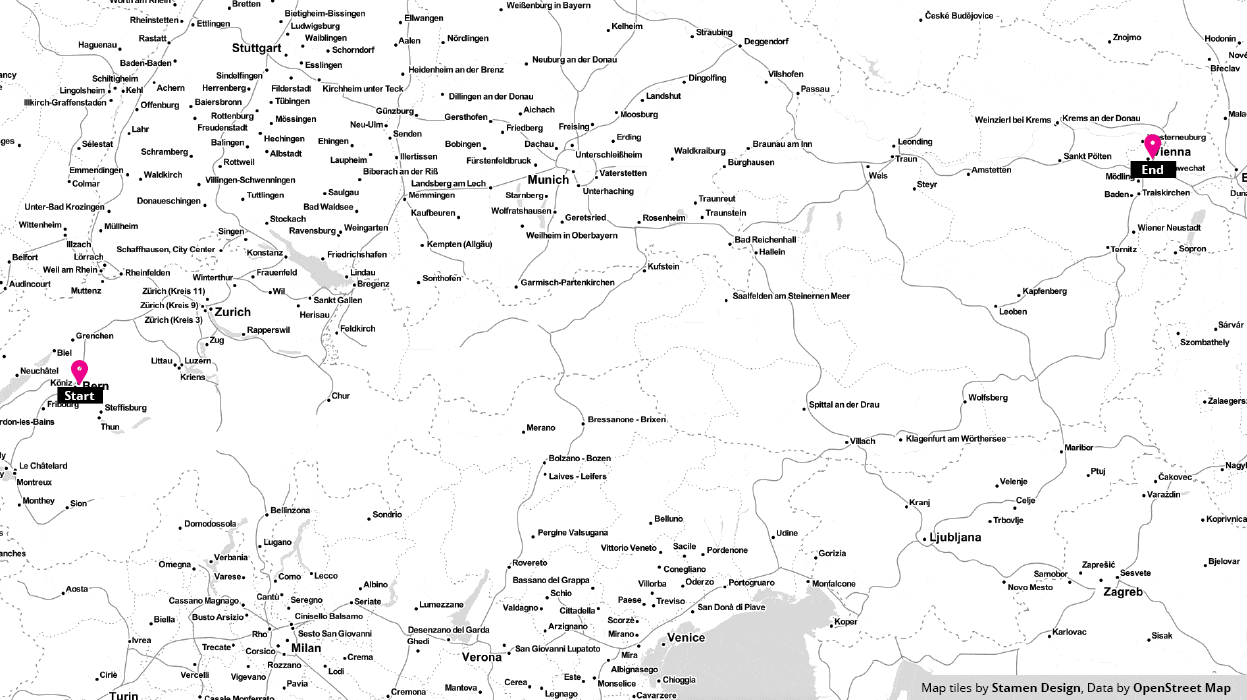
tiles based routing
When, extracted we see there are three levels of hierarchy (0, 1, and, 2). In the file-system these are shown as directories, but there is a method to the madness.
- Level 0 - these contain edges pertaining to roads that are considered highway / freeway / motorway roads. These are stored as 4 degree tiles.
- Level 1 - contains roads that are at a arterial level and are saved in 1 degree tiles.
- Level 2 - these are local roads and are saved as 0.25 degree tiles.
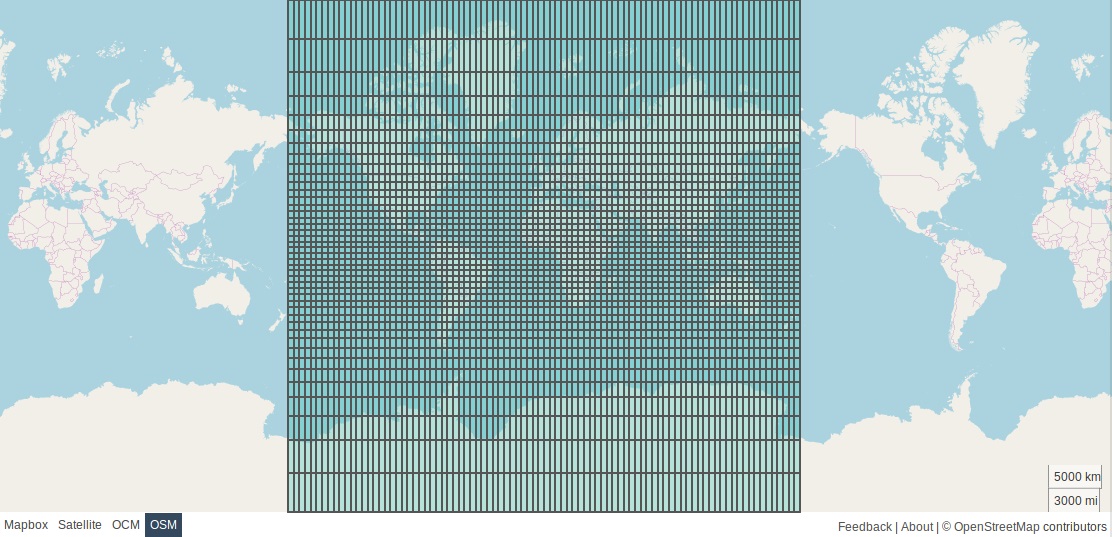
For example, the world at Level 0 would look like what we are seeing in the image below. And Pennsylvania can be seen below that; Level 0 colored in light blue, Level 1 in light green, and finally Level 2 in light red (which might not be obvious with the translucency).
So, to use this, one can use a few helper functions to get the exact tile to load and vice-versa. For example using the GPS coordinate of 41.413203, -73.623787 (which is just outside of Brewster, NY
), loading Level 2 (via the get_title_2 function) would give us the structure of /2/000/756/425.gph using which we know which tile to load.
Helper function (in python) that help obtain levels, tile ids, tile lists, lat/long coordinates, etc. from an intersecting box.
| |
Tesla has actually open-sourced their implementation of Valhalla , which is based on C++. This still seems like an active project, but parts of the code haven’t been updated for a while.
Whilst I haven’t tried to set this up myself, it seems quite simple. Below are the instructions to get this going on Ubuntu or Debian (I think Mac is also supported, but needs a little different dependency set).
| |
There you have it - we know now what the .ssq files are and how they are used. Just need more time to get it going and play with it - perhaps another project for another time. 😄